What do you do with your Fridays?
At the end of a long work week, my Fridays are generally reserved for some alone time, whether that’s writing (a blog post, perhaps?), painting, reading, or cooking.
On Friday specifically, unlike the other days of the week, I feel like I have time to explore new recipes that I wouldn’t necessarily make for meal prep or weeknight dinners; things like crepes and gluten-free wraps, pies, cakes, and this time: gluten-free, vegan crackers.
In the gluten-free community (and I suppose in the non-GF community as well, to a lesser extent), I often see lists floating around the internet of things you should make on your own. For GF-ers, Whether they are cheaper, healthier, or simply tastier to make rather than store buy, many of the items on these lists always seem like good ideas, until I actually attempt them.
Homemade peanut butter? I have a recipe for chocolate almond butter that I’d argue you can’t find in a store, but most of the time the thought of cleaning my food processor is enough to make me go for the store-bought jar.
Homemade nut milks? I’m sure this is relatively easy, but a lack of cheese cloth/nut milk bags usually deters me.
Homemade yogurt? But you need a starter of store-bought yogurt…
Some of them I certainly agree with—homemade marinara is both cheaper and more flavorful (and it’s pretty darn easy to whip up a big batch to freeze for the week). Cake? Brownies? Vinaigrettes? Jams? Granola? Croutons? All great things to make on your own. And if you have the time and equipment for the rest, I’d never suggest that you shouldn’t cook when you want to and have the time.
Many of the others, however, do require just that: equipment and time. And some of them, I’ve honestly never thought to make on my own.
This is what happened with gluten-free crackers; I never thought to make them. Some gluten-free crackers can taste particularly un-cracker-like, such as the rice variety (like those squares you can get in Oriental Snack mixes). For the most part, though, buying gluten-free crackers is one of those things that really makes you feel the pain of being gluten-free, because they are so dang expensive. (I’ve often bought boxes of crackers with a measly 4 servings in them for about $5, only to eat all the crackers in one sitting—oops, I’m a snacker).
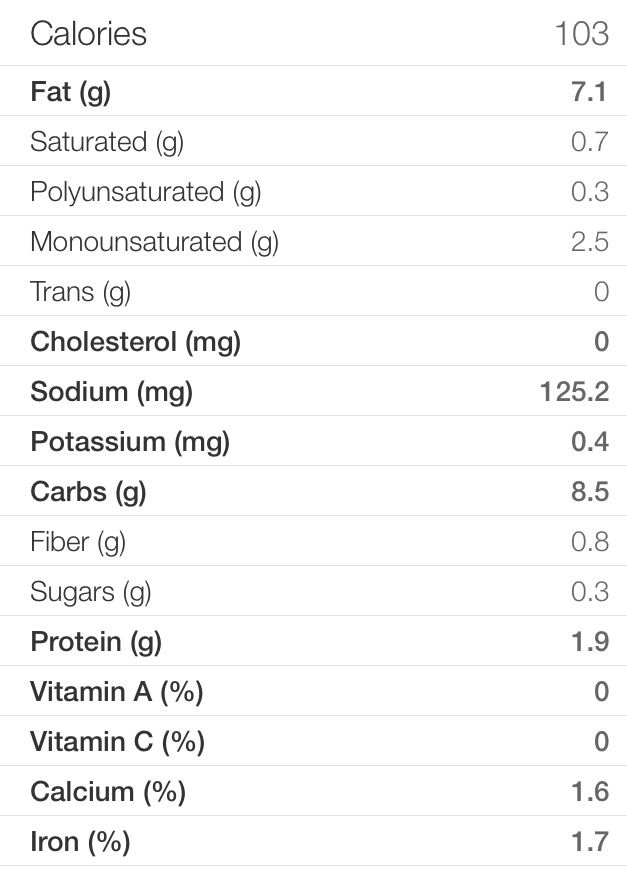
If you are forced to (or enjoy) eating gluten free crackers (or really any crackers at all), please give these a try. They’re nutty, crunchy, and can be flavored however you’d like. I never would have guessed how easy they were, either. I got the recipe from one of my favorite blogs, Minimalist Baker, but I simplified the recipe quite a bit so that they only take 25 minutes to make (3 minutes active time—yes I’m serious) and a batch costs about $2.20 (and you should get around 60 crackers, though I got around 40… still pretty good though).
To be honest, these crackers don’t even taste gluten free or vegan (well, I guess most crackers are vegan anyway, right?). So if that doesn’t matter to you, just ignore it. These are just crackers. Herby, almond-y little sublime crackers of goodness.
But if that is important to you, the fact that these crackers are gluten free and vegan (and don’t taste either), is worth a celebration! For me, that celebration looks like dancing around to some good music while I try to get a few photographs before I eat all of them. So. Good.
(P.S. Sorry for the poor quality photos! I promise they are better than they look :) ).
The Best GF Crackers Ever
Ingredients:
¾ cup gluten free flour blend (I used Trader Joe’s brand, of course. If you wanted to make these non-GF, you could probably sub regular or whole wheat flour)
2/3 cup almond flour (could also use almond meal for more texture, though I didn’t test this)
¼ teaspoon baking powder
2.5 Tablespoons oil (I used olive oil for flavor, but you could use a more neutral oil for more plain crackers)
5 Tablespoons water (may need a little more depending on how dry your dough is)
Seasoning: I used Trader Joe’s 21 Seasoning Salute, which I am currently obsessed with, and rosemary
Salt and Pepper
Directions:
Preheat oven to 325 degrees F.
Place all dry ingredients in a bowl, including seasonings. Add oil and stir. Add water slowly and mix until dough comes together (you may need a little less or a little more water).
Place dough on a Silpat (one of the most used things in my kitchen—get one here LINK) or parchment paper. Place another piece of parchment paper (or wax paper) on top. Roll out the dough until it essentially covers the entire mat and is about 1/8 inch thick. Thicker crackers will be softer, whereas thinner crackers will end up more crisp.
Use a pizza cutter or a sharp knife to score the dough; i.e. cut it into squares (but you don’t need to separate them!). You should get about 60.
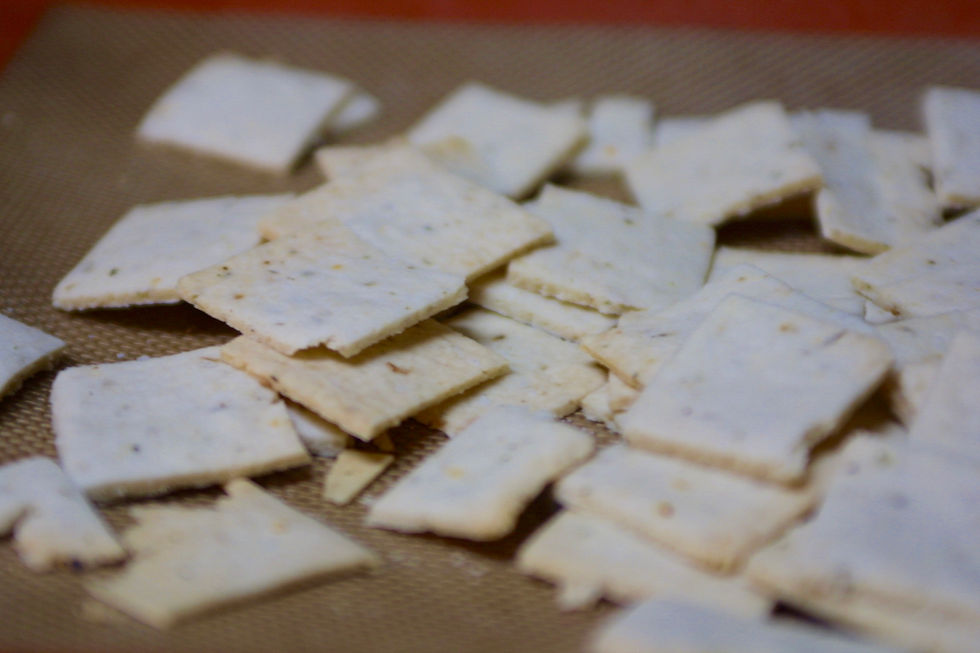
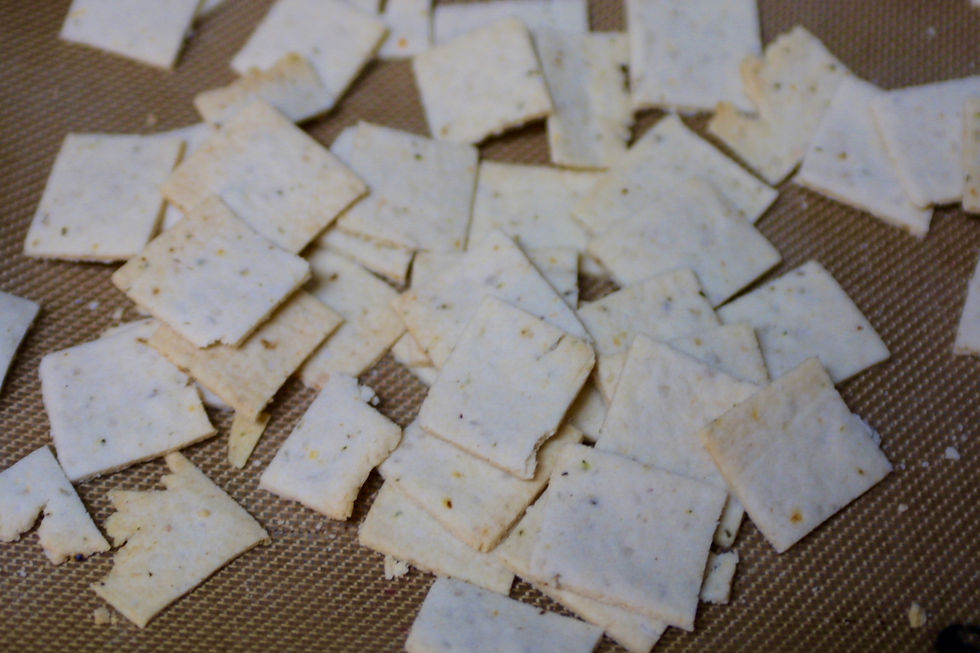
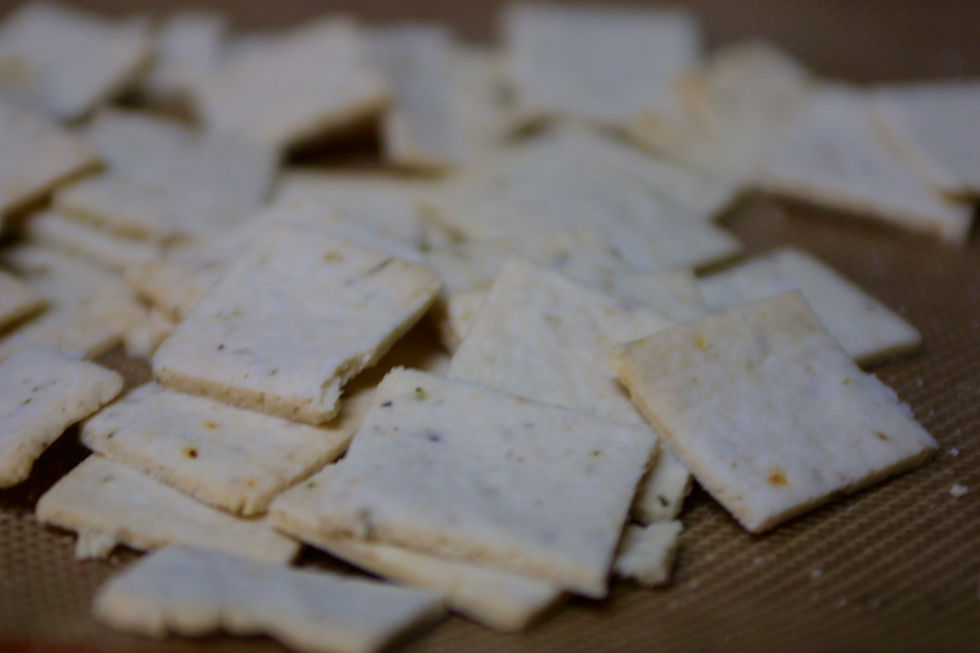
Place Silpat on baking sheet and bake for 16-22 minutes, until brown (don’t burn!). Remove from the oven and separate the crackers into individual squares. Crackers will become more crisp as they cool.
Eat immediately or store in an airtight container.